
DIY Custom Wig Using Braiding Hai
DIY Guide: Making Your Own, Custom Wig Using Braiding Hair
Are you looking to switch up your hairstyle with a custom wig? Making your own wig using braiding hair is a cost-effective and creative way to achieve the look you desire. Follow these simple steps to create your personalized wig that suits your style and needs.
Materials Needed:
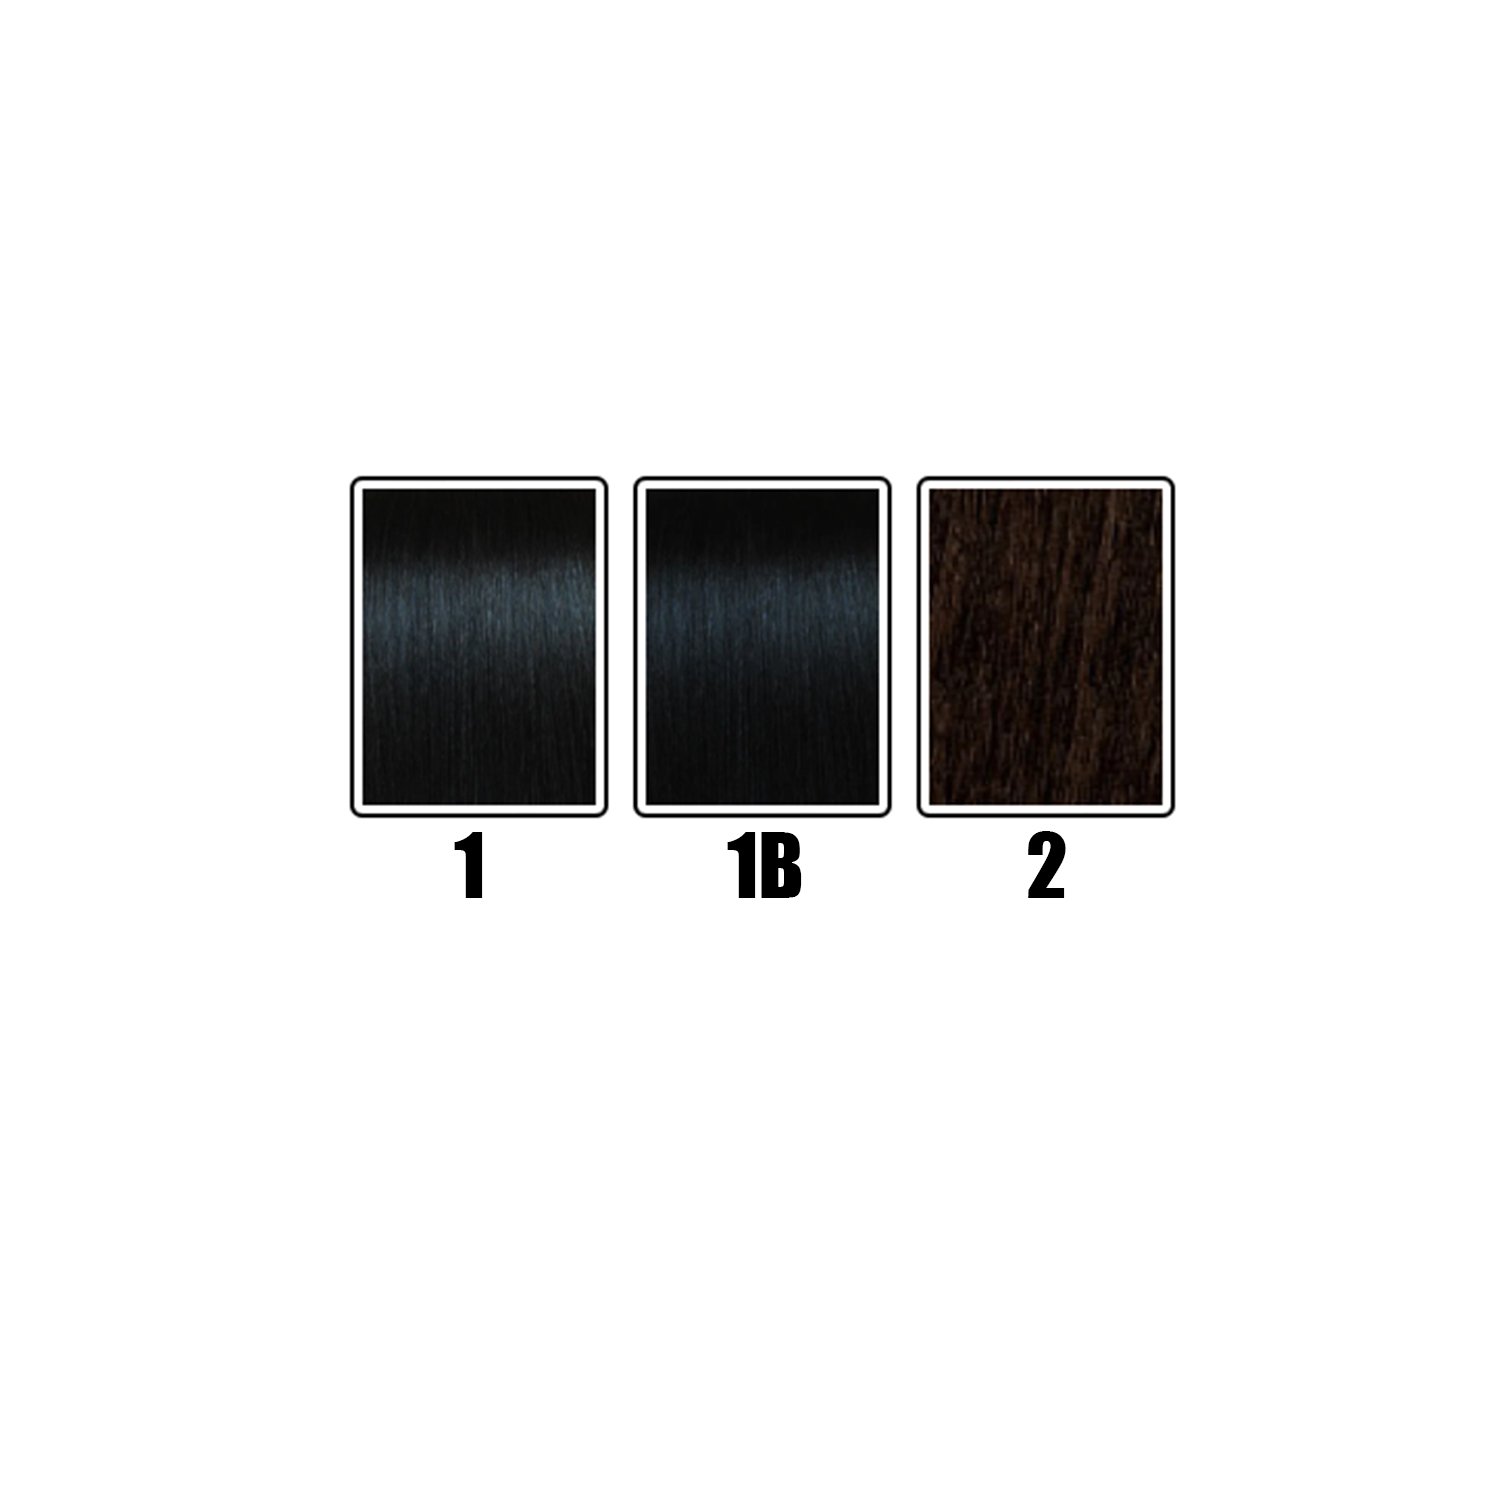
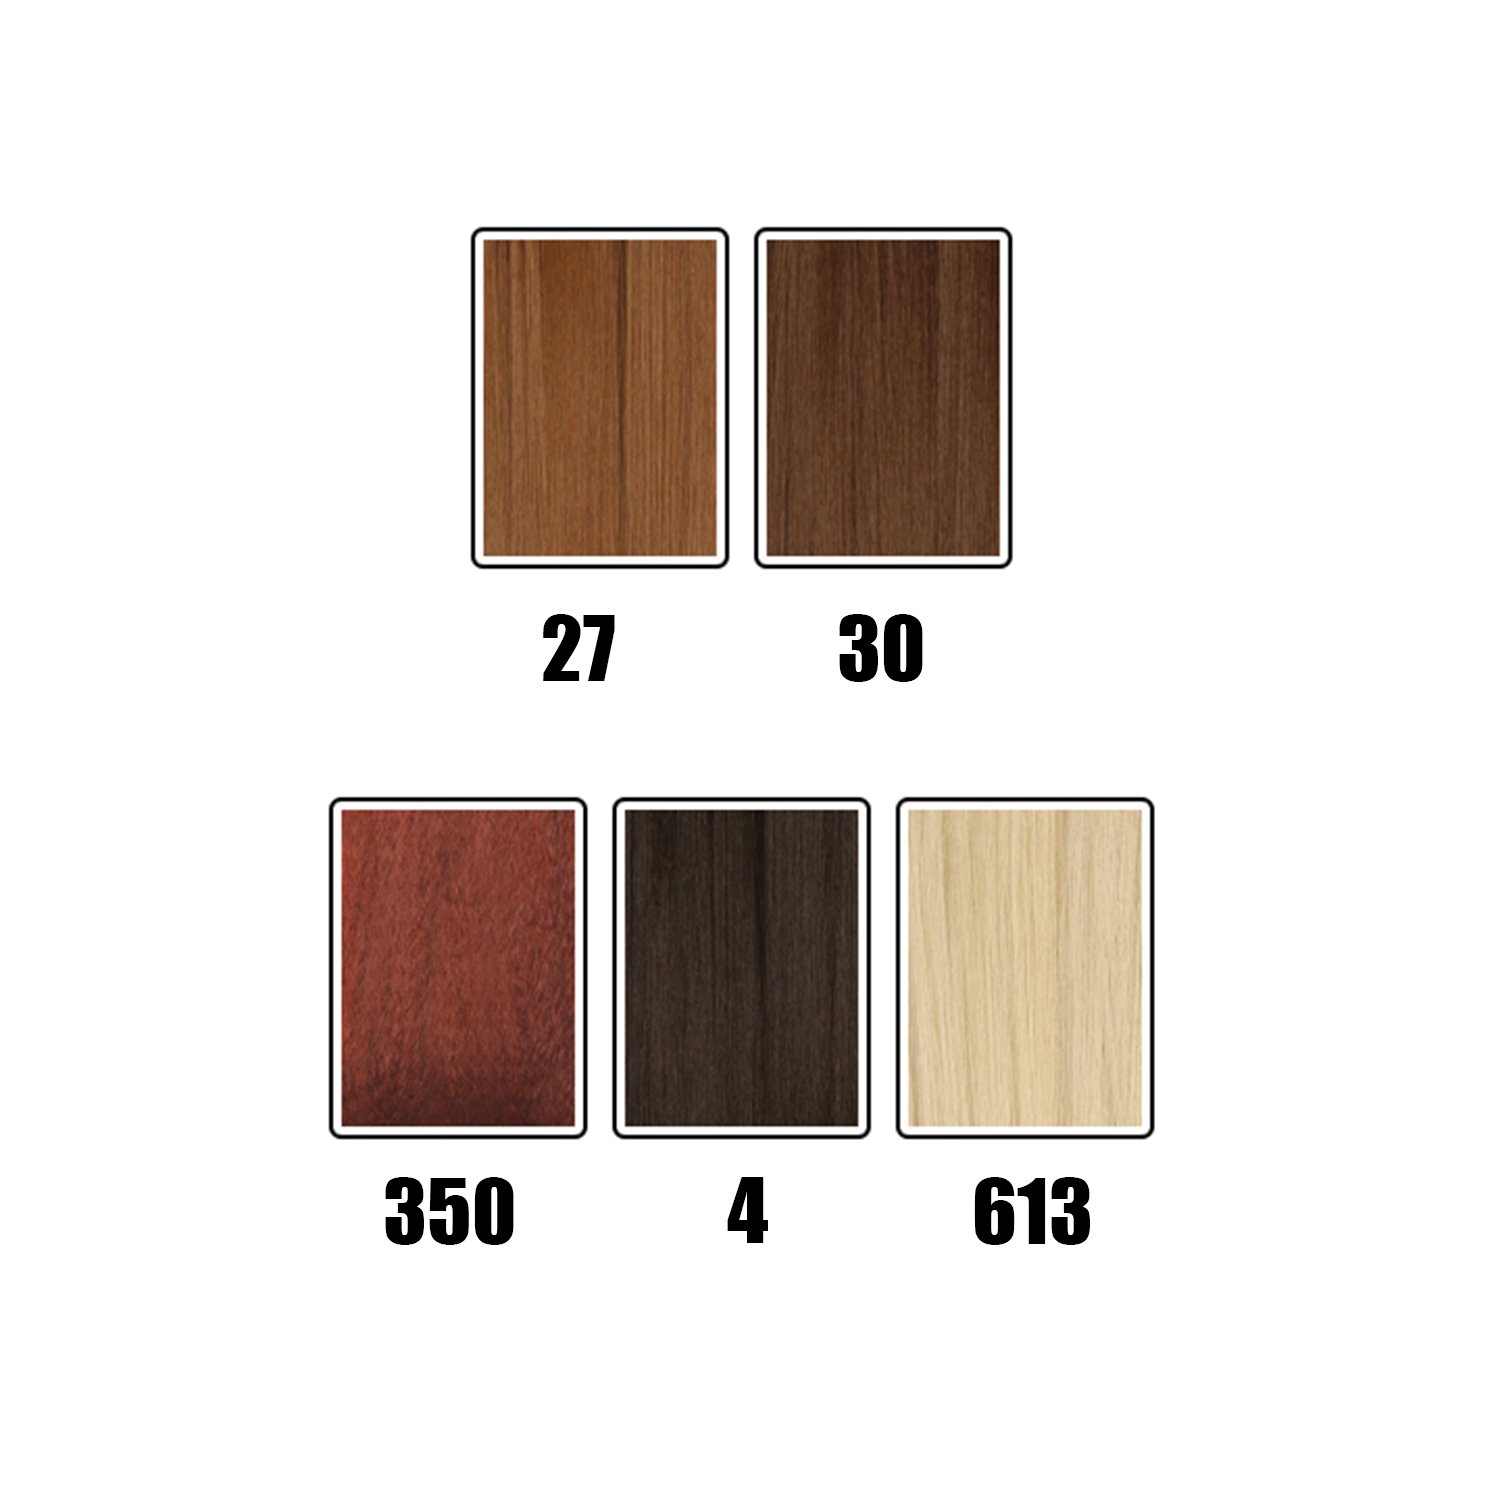
Braiding hair in desired color and length
Wig cap
Weaving needle and thread
Scissors
Wig clips or combs
Wig stand or mannequin head
Styling tools (flat iron, curling iron, etc.)
Step 1: Prepare Your Workspace
Set up a clean and well-lit workspace with a wig stand or a mannequin head to secure the wig during the creation process. Make sure you have all your materials within reach for easy access.

Weaving Crochet Needle Jumbo
$3.99
Use these latch hook/crochet needles to install many popular hair extension styles.
Great for adding micro braids over cornrows!
Step 2: Measure and Cut Braiding Hair
Measure the braiding hair against the wig cap to ensure you have enough length for the entire wig. Cut the braiding hair into manageable sections for easier handling during the braiding process.
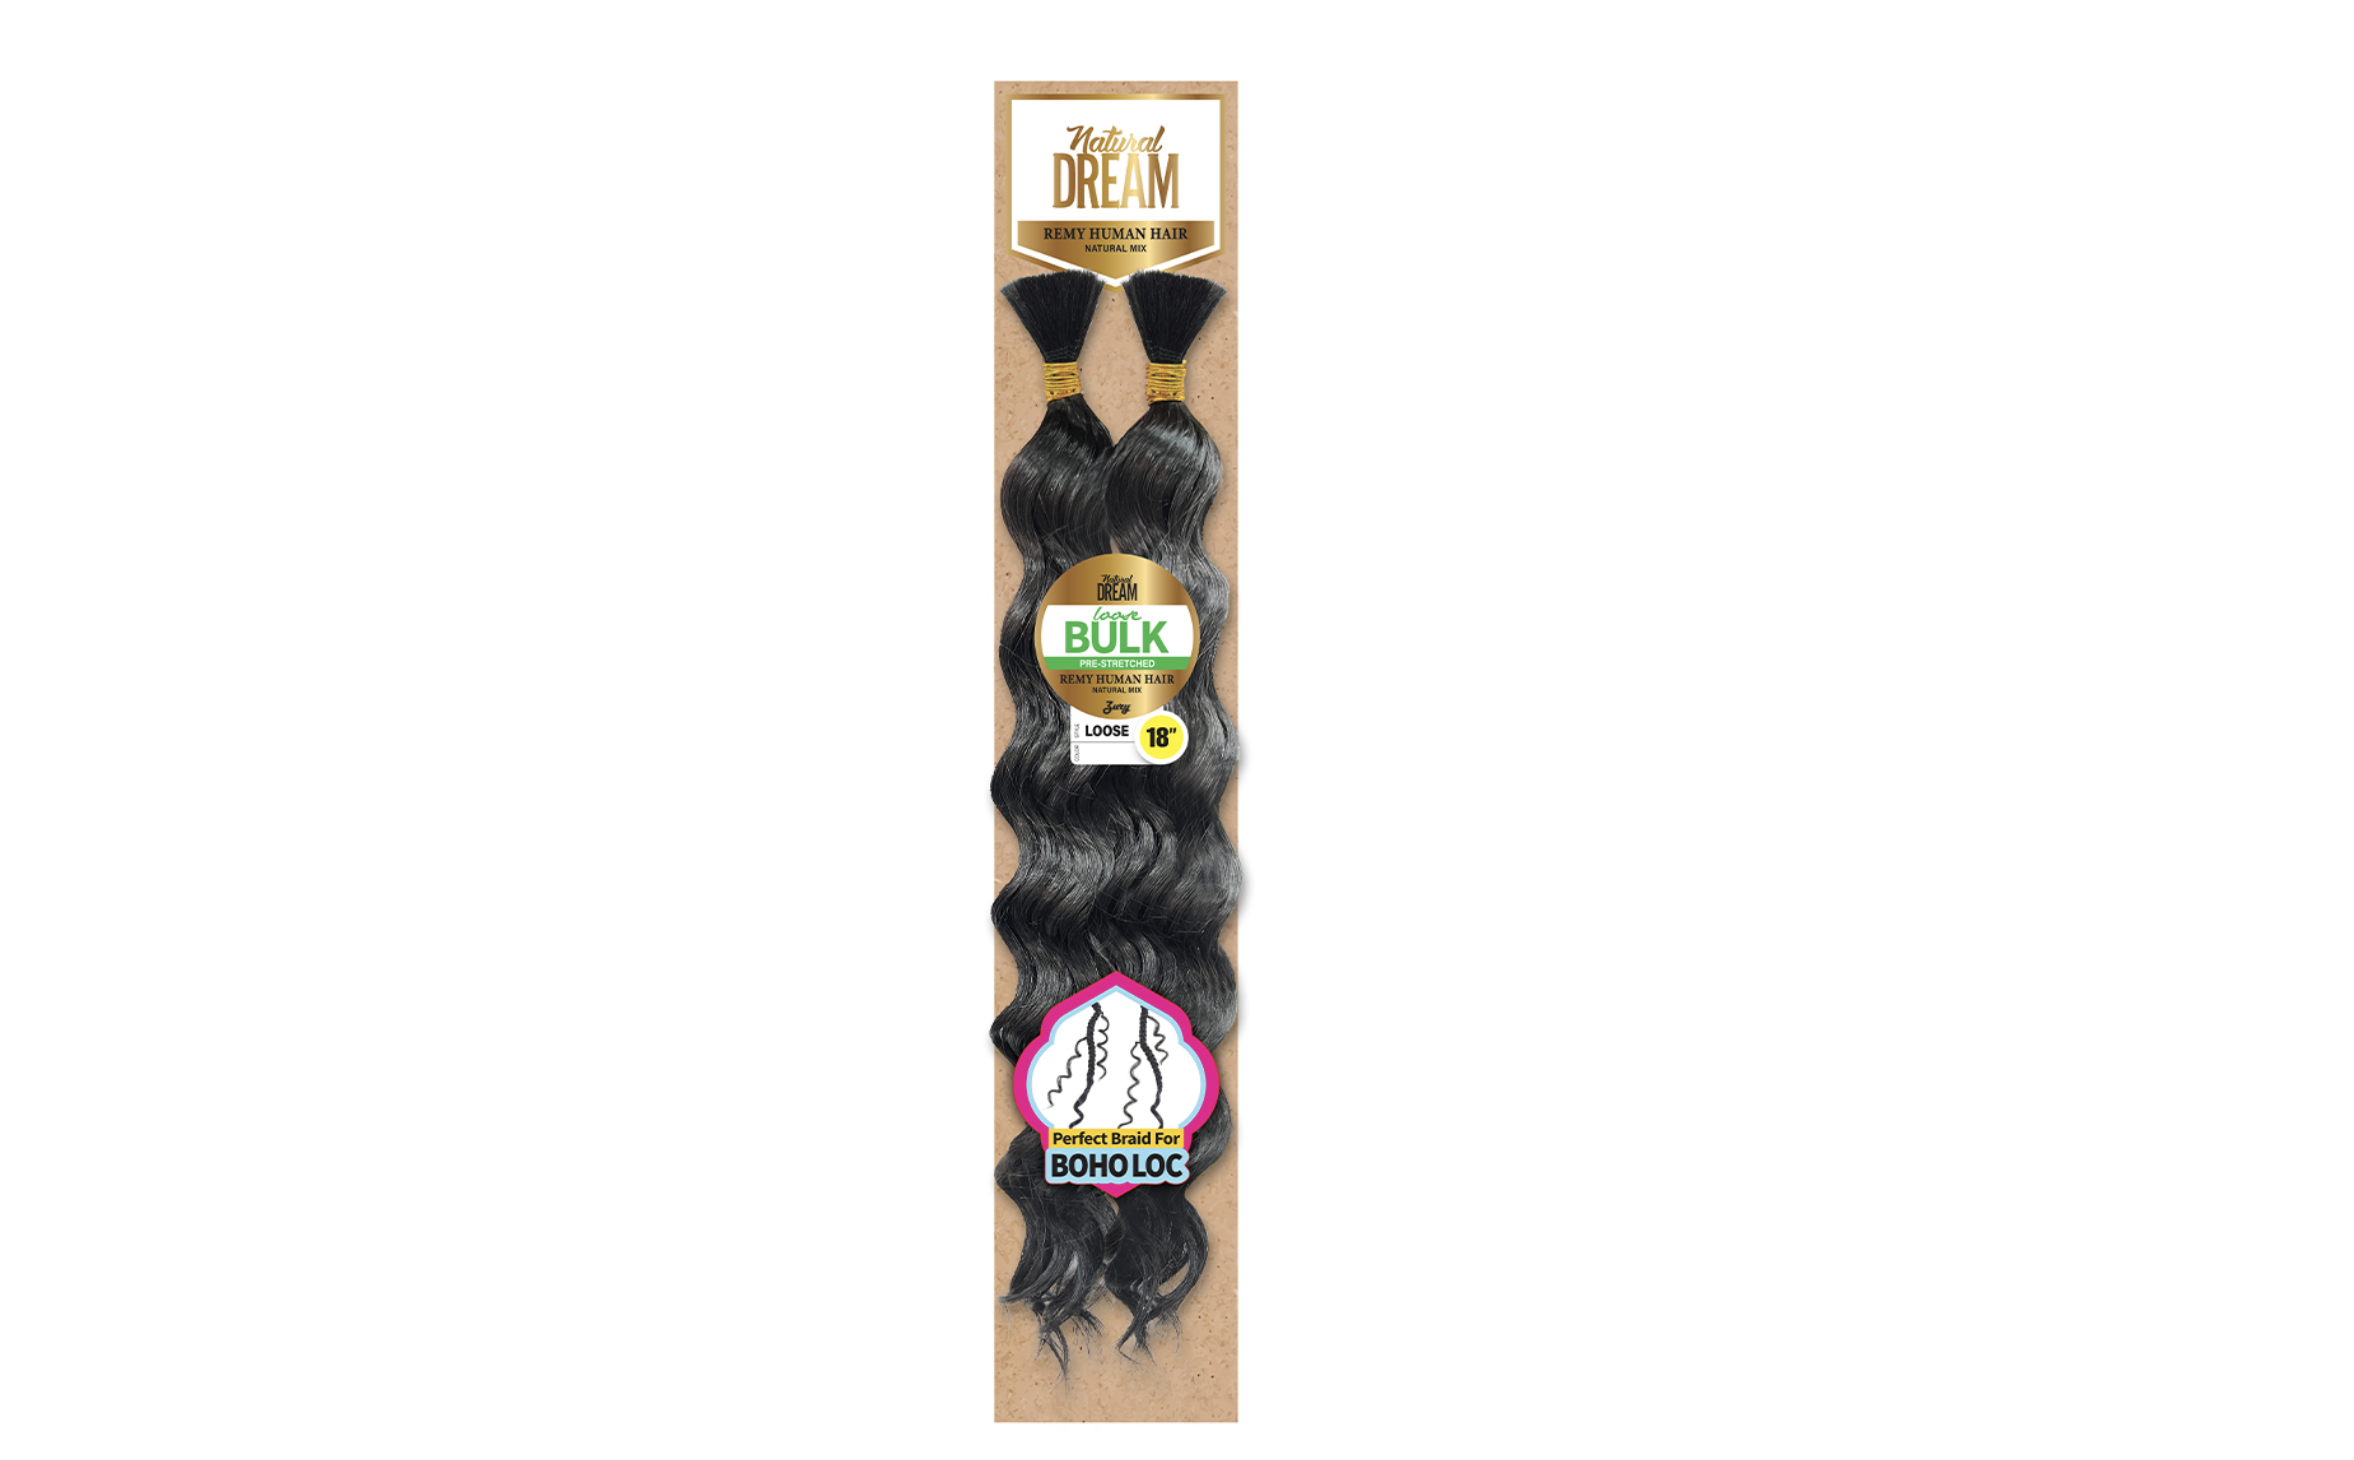
Zury Natural Dream Pre Stretched Remy Human Hair Blend Loose Bulk Braiding Hair 22"
$42.00
Zury Natural Dream Pre Stretched
Human Hair Blend Loose Bulk Braiding Hair 22"
HUMAN HAIR NATURAL MIX
PRE-STRETCHED
DEEP BULK STYLE CURL
PERFECT FOR BOHO LOC
TANGLE FREE
SOFT TOUCH
RICH VOLUME CURL

